
Essential Steps before applying self-tanner
Achieving a flawless, streak-free tan with self-tanner can be tricky without the right preparation. To avoid uneven patches and ensure a smooth finish, following specific steps before applying self-tanner is crucial. These steps will prepare your skin, making it a perfect canvas for an even tan. In this guide, we’ll explore the essential steps that should be taken to ensure your self-tanner works its magic.
Steps before applying self-tanner: Exfoliate Your Skin
The first and most important step in preparing your skin for self-tanner is exfoliation. Dead skin cells can accumulate on the surface, leading to an uneven tan. Exfoliating ensures that the self-tanner adheres smoothly, creating a flawless finish.
How to Exfoliate Effectively
- Use a body scrub or exfoliating mitt.
- Focus on rough areas like elbows, knees, and ankles.
- Opt for a gentle exfoliant to avoid irritation.
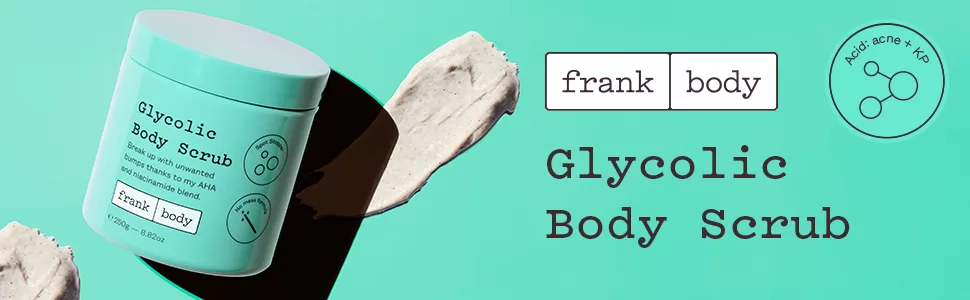
Recommended Product: Frank Body Original Coffee Scrub – This popular scrub is infused with coffee, which exfoliates while leaving the skin feeling soft and smooth.
Steps before applying self-tanner: Shave or Wax in Advance
Hair removal is another key step to achieving an even tan. Shaving or waxing after applying self-tanner can cause streaks and uneven patches, as the razor or wax strips remove some of the tan. It’s best to shave or wax at least 24 hours before tanning to give your skin time to recover and reduce the risk of irritation.
Why Timing Matters
- Shaving exfoliates the skin slightly, so doing it after tanning can lead to patchiness.
- Waxing pulls out hair follicles, which could cause the tanner to settle unevenly.
Recommended Product: Venus Extra Smooth Razor – This razor provides a close, smooth shave, minimizing irritation before applying self-tanner.
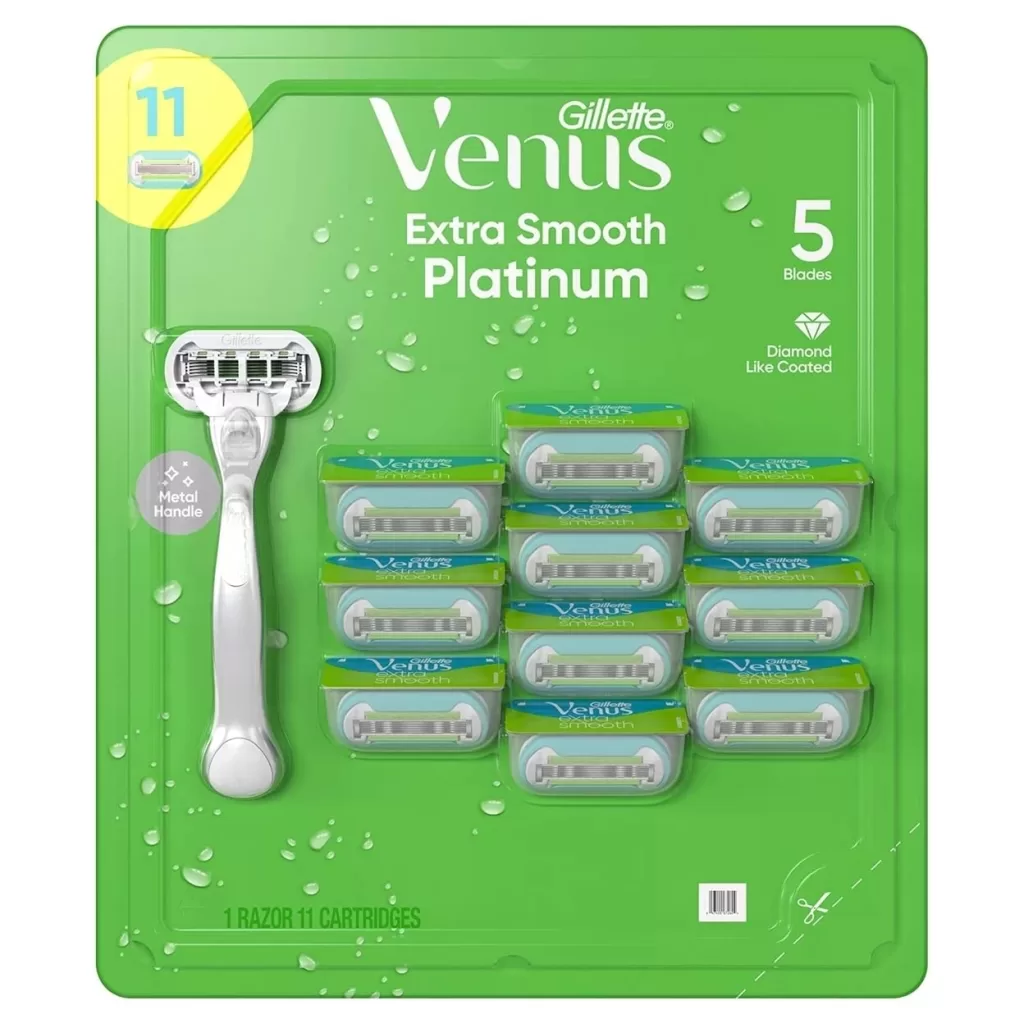
Venus Platinum Extra Smooth Metal Handle Women’s Razor, 1 Handle + 11 Refills
Steps before applying self-tanner: Moisturize Dry Areas
Moisturizing is a crucial step, but you must be selective. Dry areas like elbows, knees, and ankles tend to absorb more self-tanner, leading to darker patches. By moisturizing these areas, you ensure the tanner distributes evenly.
Moisturizing Steps before applying self-tanner for a Balanced Tan
- Apply a lightweight, oil-free moisturizer to dry areas.
- Avoid using heavy moisturizers all over the body right before applying tanner, as this can prevent it from absorbing properly.
- Focus on areas prone to dryness and roughness.
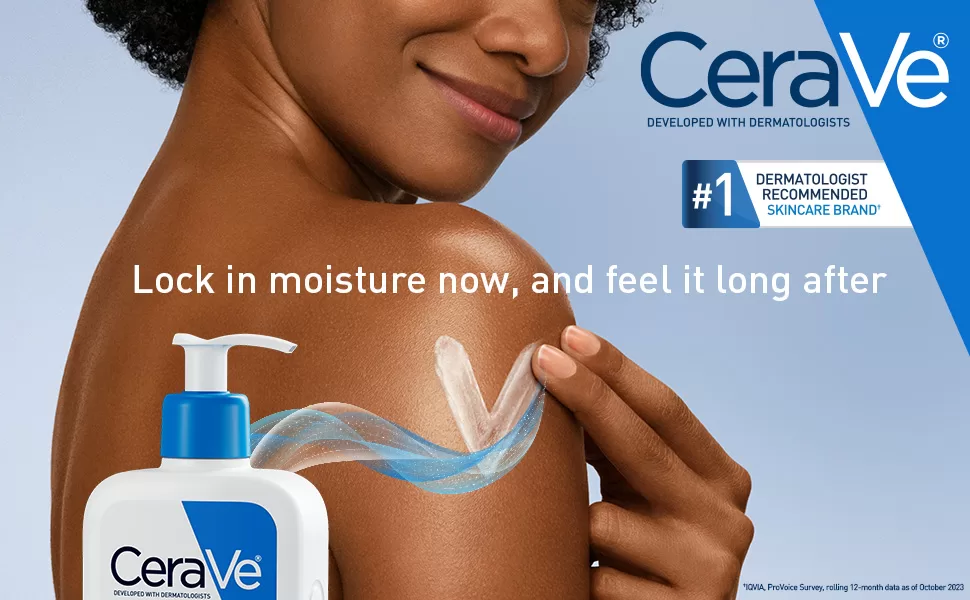
Recommended Product: CeraVe Moisturizing Cream – This fast-absorbing, non-greasy cream is ideal for moisturizing without leaving an oily residue.
Choose the Right Self-Tanner Formula
Self-tanners come in various formulas, including mousse, lotion, spray, and serum. The best option depends on your skin type and desired level of control. Mousse tends to dry faster, while lotions provide more hydration.
How to Select a Self-Tanner
- For beginners, a gradual tanning lotion is more forgiving.
- Mousse formulas dry quickly and are great for those with oily or normal skin.
- Serums and lotions work well for dry skin.
Recommended Product: St. Tropez Self Tan Express Mousse – This fast-acting mousse provides a natural tan that can be adjusted based on how long it’s left on the skin.
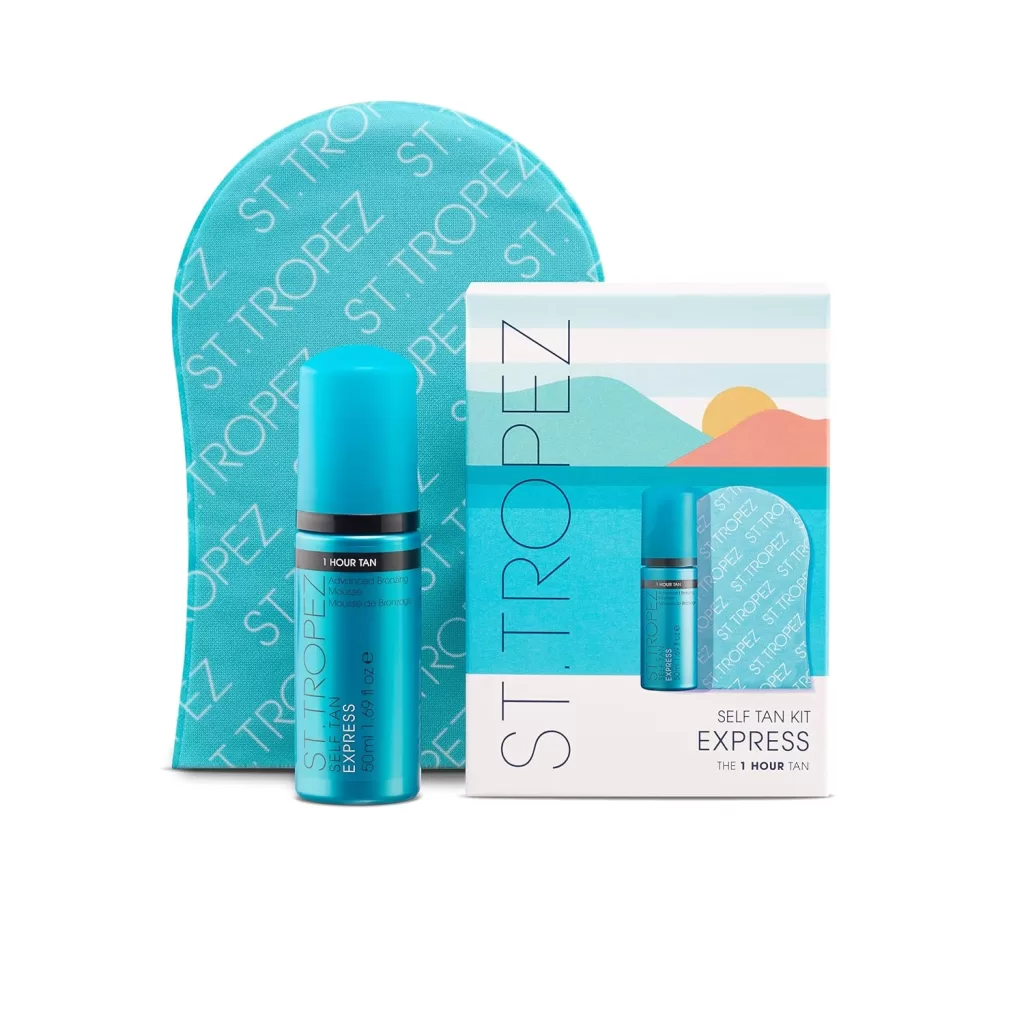
St. Tropez Self Tan Mini Kits, Travel-Sized with Applicator Mitt, Vegan-Friendly Tanner, Even & Natural Self Tan
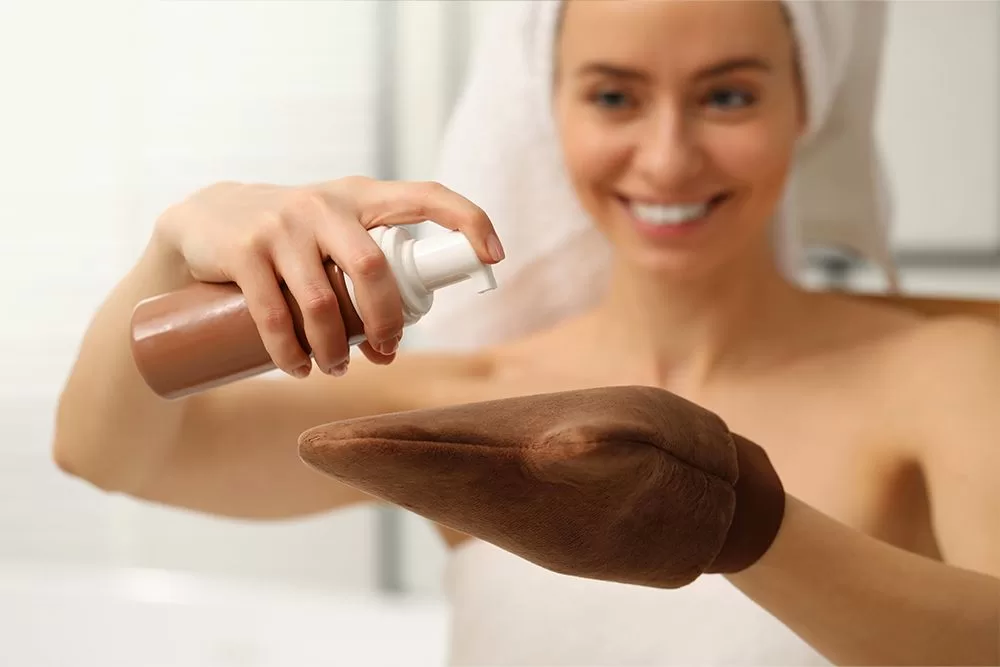
Use a Tanning Mitt for Application
One of the most common mistakes is applying self-tanner with bare hands, which often results in stained palms and streaky application. A tanning mitt ensures even distribution and a smooth finish.
Why a Mitt Is Essential
- Prevents streaks and patchy spots.
- Protects your hands from absorbing too much product.
- Allows for a more controlled and even application.
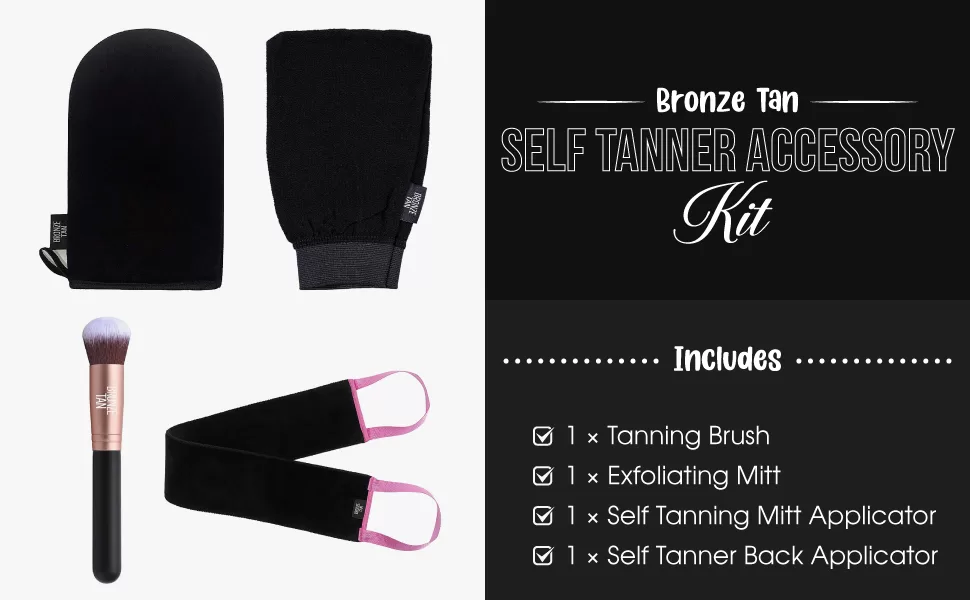
Recommended Product: Self Tanner Mitt Set, Ultra Soft Double-Sided Application Tanner – This affordable, high-quality mitt helps you apply self-tanner smoothly and evenly.
Apply in Sections for Even Coverage
To avoid missing spots or uneven application, it’s best to apply self-tanner in sections. Start with your legs, then move to your torso, arms, and finally your face. This method ensures that each area is evenly coated.
Steps before applying self-tanner: Tips for Sectioned Application
- Use long, sweeping motions to apply the tanner.
- Blend well around joints, especially on areas like knees and elbows.
- Take your time to ensure even coverage.

Let the Self-Tanner Dry Completely
Allowing the self-tanner to dry fully before getting dressed is essential for avoiding streaks. After applying, wait at least 10-15 minutes before putting on loose clothing. Tight clothes can rub the tanner off and lead to uneven patches.
How to Maximize Drying Time
- Stand in front of a fan or air conditioning for quicker drying.
- Avoid sweating or coming into contact with water for a few hours after application.
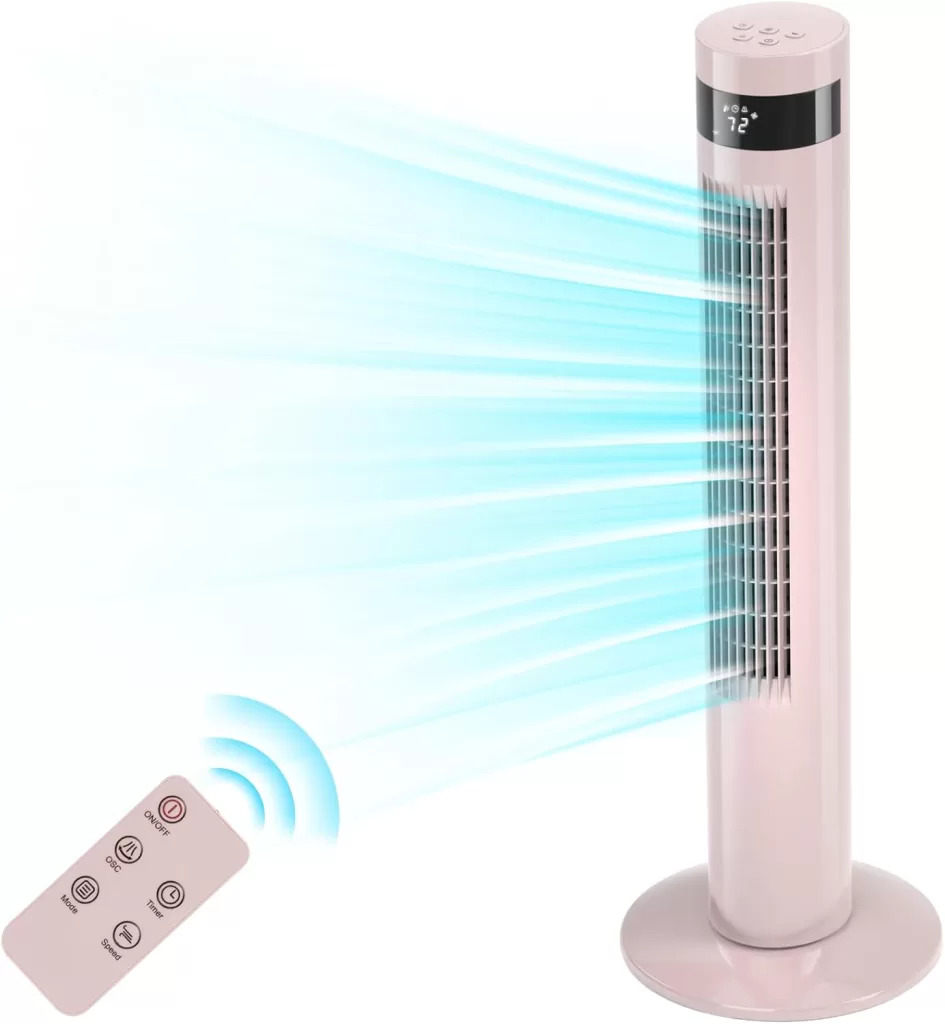
Antarctic Star Tower Fan Portable Electric Oscillating Fan Quiet Cooling Remote Control Standing Bladeless Floor Fans 3 Speeds Wind Modes Timer Bedroom…
Additional Steps before applying self-tanner for Long-Lasting Results
Avoid Water and Sweat
Once you’ve applied your self-tanner, avoid water and sweat for at least 4-6 hours, depending on the product’s instructions. Water can dilute the tanner, leading to streaks, while sweat can create patchy areas.
Hydrate Your Skin Regularly
Keeping your skin moisturized after tanning helps maintain an even glow. Use a light, oil-free moisturizer daily to prolong your tan and prevent peeling.
Recommended Product: Jergens Natural Glow Daily Moisturizer – This gradual tanning lotion also hydrates the skin, helping to extend the life of your tan.
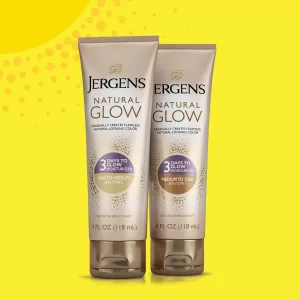
Jergens Natural Glow 3-Day Self Tanner for Medium to Deep Skin Tone
Use a Gradual Tanner for Maintenance
To extend the life of your tan and ensure a smooth fade, use a gradual self-tanning product. These lotions build up your tan slowly and can be applied every few days to maintain your glow.
Recommended Product: Dove DermaSpa Summer Revived Lotion – A moisturizing lotion with gradual self-tanning properties, perfect for keeping your tan fresh.
Frequently Asked Questions (FAQs) Steps before applying self-tanner
Why is exfoliation important before self-tanning?
Exfoliation removes dead skin cells, which can cause an uneven tan. It creates a smooth surface for the self-tanner to adhere to, ensuring a flawless finish.
When should I shave or wax before self-tanning?
It’s best to shave or wax at least 24 hours before applying self-tanner. This gives your skin time to recover and reduces the risk of irritation.
Can I use any exfoliator before self-tanning?
While any exfoliator can help, it’s best to use a gentle one to avoid irritating your skin. Look for products that contain natural exfoliants like sugar or salt.
What if I forget to exfoliate?
If you forget to exfoliate, you can still apply self-tanner, but the results may not be as even. You can try using a gentle body scrub or exfoliating mitt before applying the self-tanner.
How often should I exfoliate before self-tanning?
Exfoliating once or twice a week is generally sufficient. However, if you have very dry or flaky skin, you may need to exfoliate more frequently.
Can I moisturize before self-tanning?
It’s best to avoid moisturizing your skin immediately before self-tanning as it can create a barrier between your skin and the self-tanner. However, you can moisturize your skin the day before to ensure it’s hydrated.
Steps before applying self-tanner: Summary:
This article details the essential steps to take before applying a self-tanner to achieve an even, streak-free tan. From exfoliating and moisturizing to using a tanning mitt and applying in sections, each step is designed to ensure a flawless result. Product recommendations and tips for long-lasting tan maintenance are also provided.
The Science Behind Skin Cycling:
Helpfull Links:
- The Complete Guide to Natural and DIY Skincare: Safe and Effective Home Remedies for Glowing Skin
- Radiant Complexions: Achieve Deeply Hydrated, Glowing Skin with Top Products
External Links:
Explore more articles like this @ Where And How Resources
If you found this article helpful, don’t forget to share it with your friends and followers!