DIY Spa Treatments at Home: Who says you need a trip to the salon to achieve a healthy, glowing look? With a little know-how and some readily available ingredients, you can create a luxurious spa experience right in your own bathroom. This article will guide you through the wonderful world of at-home beauty treatments, offering options for facials, hair care, and body treatments – all formulated with natural and vegan-friendly ingredients!

DIY Spa Treatments at Home: Do-It-Yourself Facials
Exfoliation is key: Buff away dead skin cells with a gentle scrub made from brown sugar and honey. For a vegan option, substitute honey with olive oil. Apply the scrub in circular motions, focusing on areas prone to dryness or flakiness (forehead, nose, chin). Rinse thoroughly with lukewarm water and pat your face dry.

DIY Spa Treatments at Home: Mask it Up
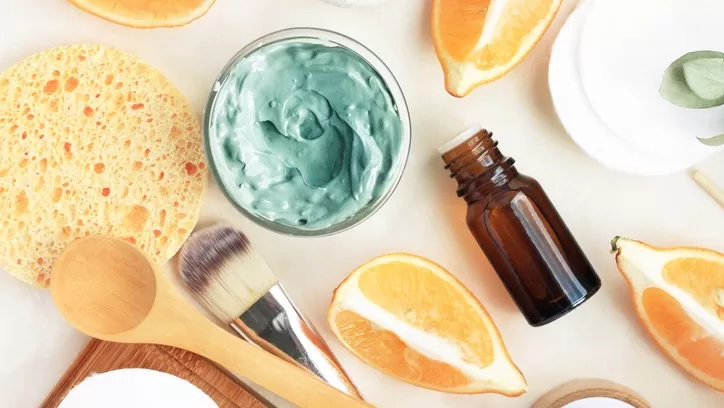
Whip up a nourishing mask based on your skin type. Here are some ideas and application tips:
- Dry Skin: Combine mashed ripe avocado with a dollop of plain yogurt for a creamy and hydrating mask. Apply a generous layer to your cleansed face, avoiding the delicate eye area. Relax for 15-20 minutes, then rinse thoroughly with warm water and pat your face dry.
- Oily Skin: Mix equal parts clay (available at most drugstores) with apple cider vinegar to create a mattifying mask. Apply a thin layer to your cleansed face, focusing on the T-zone (forehead, nose, chin). Leave it on for 10-15 minutes, until the mask starts to dry slightly but not completely. Rinse thoroughly with warm water and follow with a witch hazel toner (alcohol-free for sensitive skin) to tighten pores and balance your skin’s pH level.
- Sensitive Skin: Opt for a soothing oatmeal mask. Grind rolled oats into a fine powder and mix with water or milk to form a paste. Apply a thin layer to your cleansed face and leave it on for 15 minutes. Rinse thoroughly with lukewarm water and pat your face dry.
DIY Spa Treatments at Home: How to Use Facial Masks
Facial masks are a fantastic way to give your skin a targeted boost of hydration, nourishment, or oil control. Here’s a step-by-step guide to ensure you get the most out of your mask:
- Cleanse and Dry: Before applying any mask, it’s crucial to cleanse your face thoroughly. This removes dirt, oil, and makeup, allowing the mask ingredients to penetrate deeper into your skin. Use a gentle cleanser suitable for your skin type and pat your face dry with a clean towel.
- Optional Steaming (for better absorption): Steaming your face helps open up your pores, allowing the mask ingredients to penetrate deeper for better results. You can achieve this by taking a hot shower or draping a towel over your face while holding a bowl of hot water for a few minutes. Be careful not to get too close to the steam, as it can irritate your skin.
- Apply the Mask: Most masks come with application instructions, but generally, you’ll want to apply a thin, even layer to your cleansed, dry face, avoiding the delicate eye area and the lips.
- Relax and Wait: Sit back, relax, and enjoy some self-care time while the mask works its magic. Refer to the product instructions for the recommended wear time. Most masks take 10-20 minutes to work effectively.

Do’s and Don’ts of DIY Beauty Treatments
While creating your own spa treatments is a fun and affordable way to pamper yourself, there are a few things to keep in mind to ensure a safe and effective experience. Here are some Do’s and Don’ts:
Do:
- Do a patch test: Before applying any new product to your face, especially if you have sensitive skin, do a patch test on your inner arm. Apply a small amount of the product and wait 24 hours to see if there’s any redness, itching, or irritation.
- Do steam your face (optional): Steaming your face before applying a mask can help open up your pores and allow for deeper product penetration.
- Do cleanse and dry your face before applying masks: This removes dirt, oil, and makeup, allowing the mask ingredients to work their best.
- Do relax and enjoy your at-home spa experience! Take some time for yourself to unwind and de-stress.
Don’t:
- Don’t use harsh chemicals or abrasive scrubs: These can irritate your skin.
- Don’t leave masks on for longer than recommended: This can dry out your skin.
- Don’t skip the moisturizer: Even after using a hydrating mask, it’s important to lock in moisture with a moisturizer suitable for your skin type.
- Don’t use expired products: Expired products can lose their effectiveness or become contaminated with bacteria.
Mask Frequency:
- Use masks 1-2 times per week, depending on your skin type and the mask’s purpose. Avoid over-masking, as it can strip your skin’s natural oils.
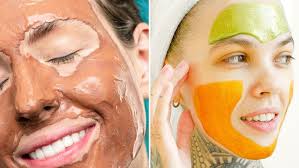
- Multi-masking: For targeted treatment, you can apply different masks to different areas of your face. For example, use a hydrating mask on your cheeks and a mattifying mask on your T-zone (forehead, nose, chin).
- Storage: Store your masks in a cool, dry place to prevent them from drying out or becoming contaminated with bacteria.
By following these steps and tips, you can ensure your facial masks deliver the intended benefits for a healthy and radiant complexion!

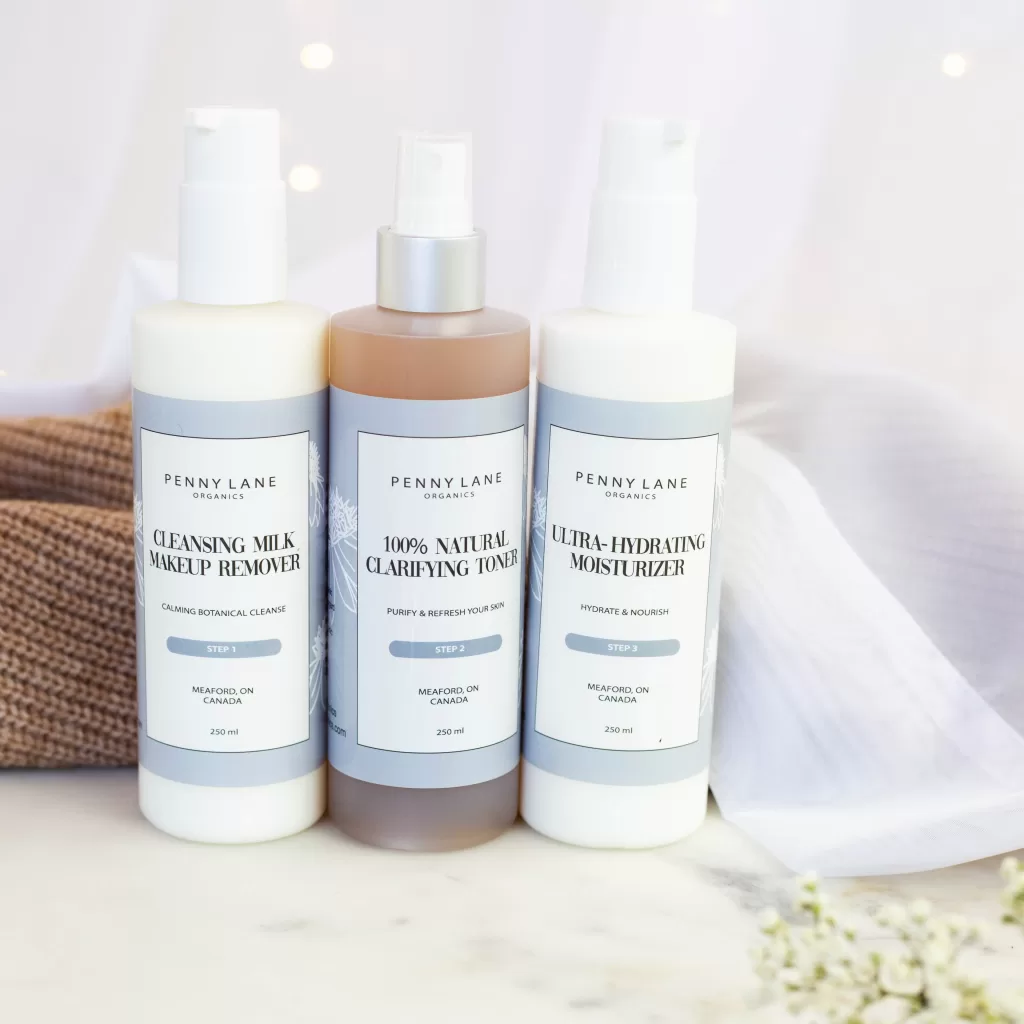
Moisturize and Tone:
Finish your facial routine with a natural moisturizer. Coconut oil or shea butter make excellent choices for dry skin, while aloe vera gel is perfect for oily skin. Apply a witch hazel toner (alcohol-free for sensitive skin) to tighten pores and balance your skin’s pH level.

Natural Hair Care: Shine Bright Without Breaking the Bank
Looking for salon-worthy hair without the salon price tag? Look no further than the power of natural ingredients and a little DIY magic! Here are some budget-friendly hair treatments you can whip up in your own kitchen:
Deep Conditioning Powerhouse:
- The Mighty Avocado: This creamy fruit is a natural source of healthy fats and vitamins that deeply nourish dry, damaged hair. Mash a ripe avocado with a tablespoon of olive oil and honey to create a luxurious hair mask. Apply the mask to damp hair, focusing on the ends, and leave it on for 30 minutes before rinsing thoroughly with cool water. Follow with your regular shampoo and conditioner.
Scalp Scrub for a Refreshing Start:
- Sugarcane Savior: Give your scalp a stimulating massage with a gentle scrub made from brown sugar and coconut oil. This helps remove product buildup, dead skin cells, and promote healthy hair growth. Wet your hair slightly, then massage the scrub into your scalp using your fingertips, focusing on areas prone to buildup. Rinse thoroughly with warm water and follow with your regular shampoo and conditioner.

Shine-Boosting Hair Rinse:
- Apple Cider Vinegar Magic: This readily available ingredient adds a touch of shine and helps balance the scalp’s pH level. Mix one tablespoon of apple cider vinegar with one cup of cool water. After shampooing and conditioning, use this as a final rinse. Avoid using pure apple cider vinegar directly on your hair, as it can be too acidic.
FAQs: DIY Spa Treatments at Home
General Questions
- What are the benefits of DIY beauty treatments?
- DIY beauty treatments are a cost-effective way to pamper yourself.
- They allow you to use natural ingredients, avoiding harsh chemicals.
- You can customize treatments to your specific skin and hair needs.
- How often should I do DIY facials?
- The frequency of DIY facials depends on your skin type and the specific treatment. Generally, 1-2 times per week is sufficient.
- Can I use DIY treatments on sensitive skin?
- Yes, you can use DIY treatments on sensitive skin. However, it’s important to choose gentle ingredients and do a patch test before applying anything new to your skin.
Product-Specific Questions
- What is a good DIY mask for dry skin?
- A mask made with mashed avocado and yogurt is a great option for dry skin.
- What is a good DIY mask for oily skin?
- A clay mask mixed with apple cider vinegar can help mattify oily skin.
- What is a good DIY hair mask for damaged hair?
- An avocado and olive oil hair mask can help nourish and repair damaged hair.
DIY Spa Treatments at Home: Additional Tips
- Always cleanse your face before applying any mask or treatment.
- Don’t leave masks on for longer than recommended.
- Use lukewarm water to rinse your face.
- Moisturize your skin after every treatment.
- Don’t use expired products.
By following these tips and experimenting with different natural ingredients, you can create a personalized spa experience at home.
Bonus Tip: Skip the heat styling whenever possible. Let your hair air dry or use a diffuser attachment on a low heat setting to minimize damage.
These natural hair care treatments are not only budget-friendly but also free of harsh chemicals. With a little consistency, you’ll be rocking healthy, radiant hair that shines from the inside out!

Hyaluronic Acid Serum for Skin
Explore more articles like this @ Where And How Resources
If you found this article helpful, don’t forget to share it with your friends and followers!
