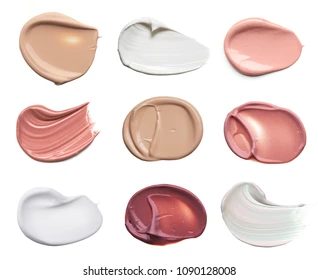
Unlock the Magic: Transform Lip Balm into Blush!
Cream Blush with Lip Balm: Cream blushes are a makeup essential for achieving a radiant, natural flush. But what if you could make your own custom cream blush at home? By mixing your favorite lip balm with powder blush, you can create a versatile product that works for both cheeks and lips. This DIY beauty hack is not only budget-friendly but also allows you to personalize the shade and texture to suit your preferences.
Why Make Your Own Cream Blush?
- Customizable Shades: Adjust the color intensity to suit your skin tone.
- Hydration: Lip balm adds a nourishing base that keeps your skin moisturized.
- Blending Ease: Cream blushes are easier to blend and provide a seamless finish.
- Multi-use Product: Multi-use Product: Doubles as a lip tint for a cohesive look. Plus, with ingredients like mica, this DIY cream blush is safe for use on your lips, making it a versatile addition to your beauty routine. Many users, including parents, have found it perfect for adding a subtle tint to both cheeks and lips, even on children during events like ballet recitals. It’s gentle and easy to apply, ensuring quick touch-ups on the go. Enjoy the convenience of a product that seamlessly transitions from cheek to lip, providing a natural and polished appearance effortlessly.
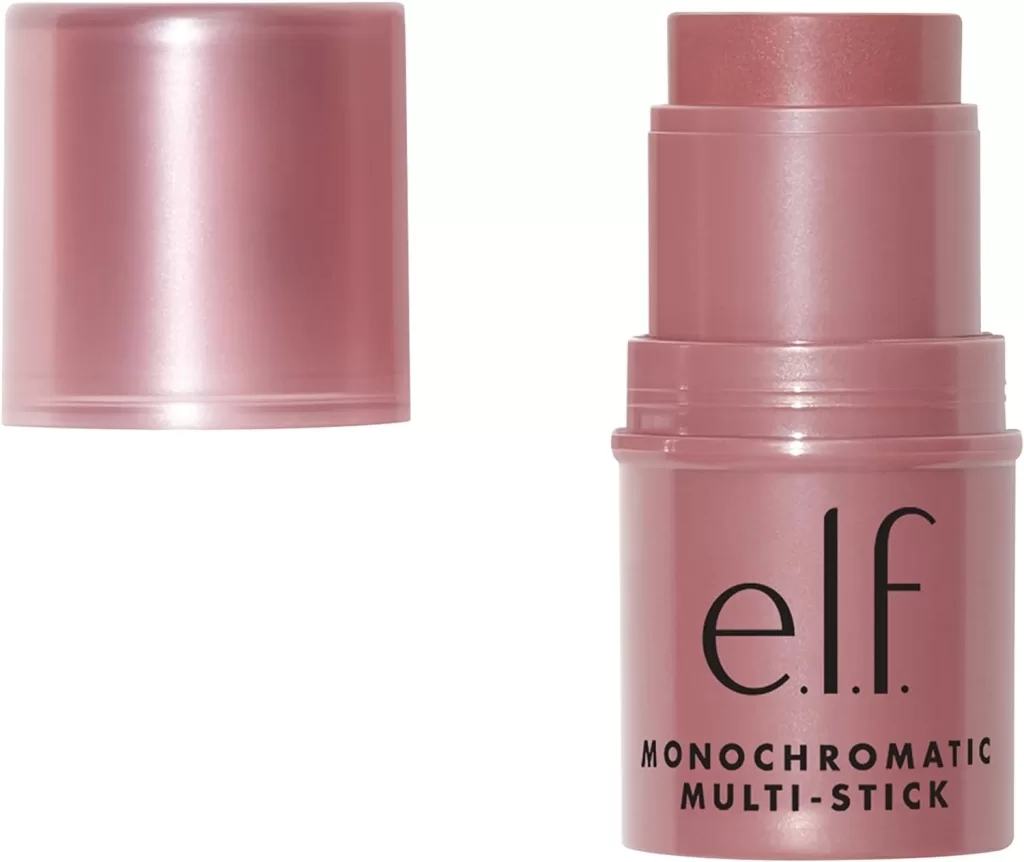
e.l.f., Monochromatic Multi-Stick Blush, Creamy, Lightweight, Versatile, Luxurious, Adds Shimmer, Easy To Use On The Go, Blends Effortlessly, Sparkling Rosé…
Cream Blush with Lip Balm: What You’ll Need
Gather these simple items to get started:
- Lip Balm: Choose a balm with a creamy texture (non-tinted or lightly tinted).
- Powder Blush: Use a blush shade that complements your complexion.
- Small Mixing Tool: A clean spatula, spoon, or toothpick.
- Mixing Palette or Plate: A flat surface for blending.
- Storage Container (Optional): For storing any leftover blush.
Considerations When Choosing Mica Powders for DIY Cosmetics
Mica powders are a popular choice for adding shimmer and color to DIY cosmetics, but selecting the right ones requires careful consideration. Here’s what you need to know:
1. Natural vs. Synthetic Composition
- Natural Mica: Derived from minerals, this type is noted for its shimmering properties, often giving a sparkle to rocks like schist and gneiss.
- Synthetic Additives: While mica is inherently natural, many products also blend in synthetic dyes like FD&C colors. It’s crucial to determine the presence of such additives, as they can affect the safety and intended use of your cosmetics.
2. Purity and Safety Concerns
- Origin and Purity: Mica powders can vary significantly in terms of purity. Unsourced products might contain impurities that pose health risks. Look for suppliers who provide transparency about mineral sourcing and processing.
- Potential Hazards: Be aware that some minerals used as colorants have links to health issues, including carcinogens like chromium oxide green. Always research the elements involved in your mica powders.
3. Usage Restrictions
- Area-Specific Safety: Some mica colors are safe for particular applications but not others. For example, certain greens may be approved for use on eyes but not on lips, due to potential toxicity if ingested.
- Label Validation: Always check labels for specific uses and any warnings related to various makeup applications.
4. Supplier Credibility
- Reputable Vendors: Since platforms like Amazon don’t rigorously vet their vendors, due diligence is required. Opt for suppliers known for stringent quality checks and positive customer feedback.
By ensuring attention to these factors—composition, purity, safety, and credibility—you can make informed decisions when choosing mica powders for your DIY cosmetic projects.
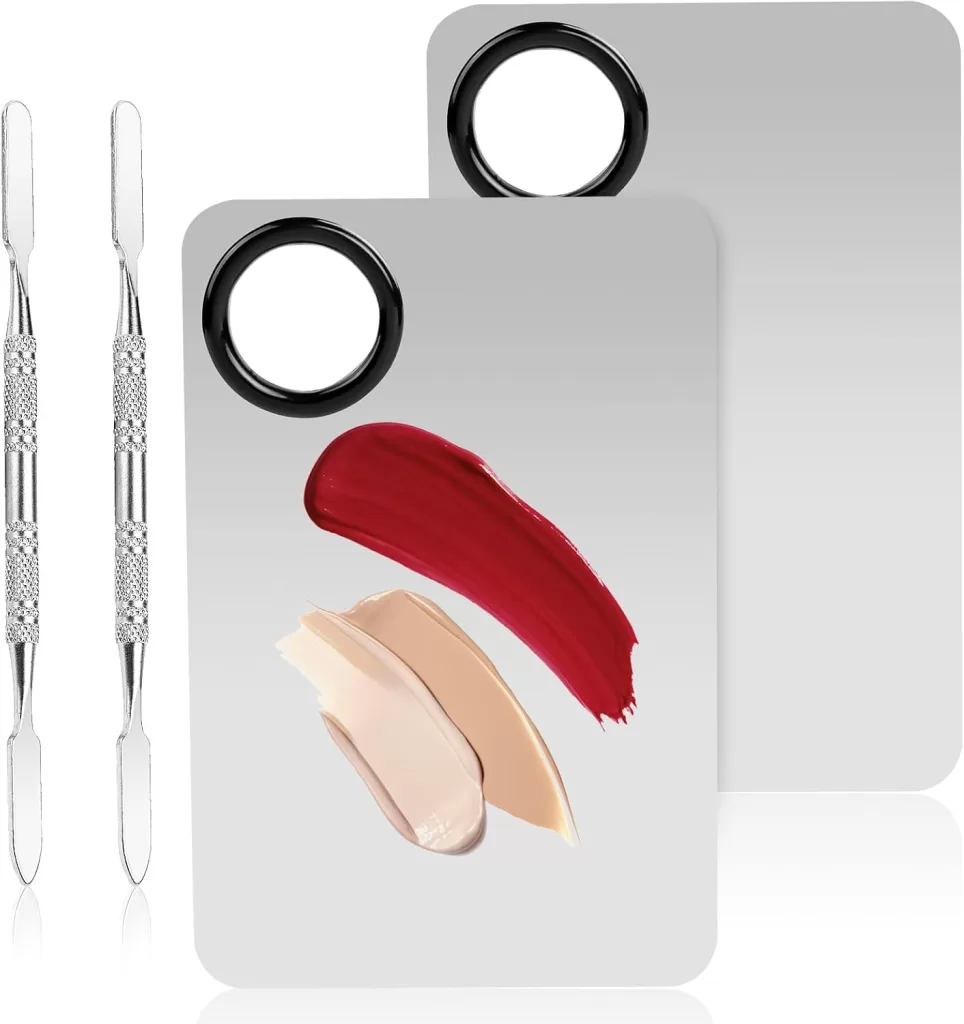
2 Set Makeup Mixing Palette, Makeup Palette, Mixing Palette, Makeup Spatula, Makeup Tools, Foundation Kit, Travel Makeup Palette, Contouring Palette
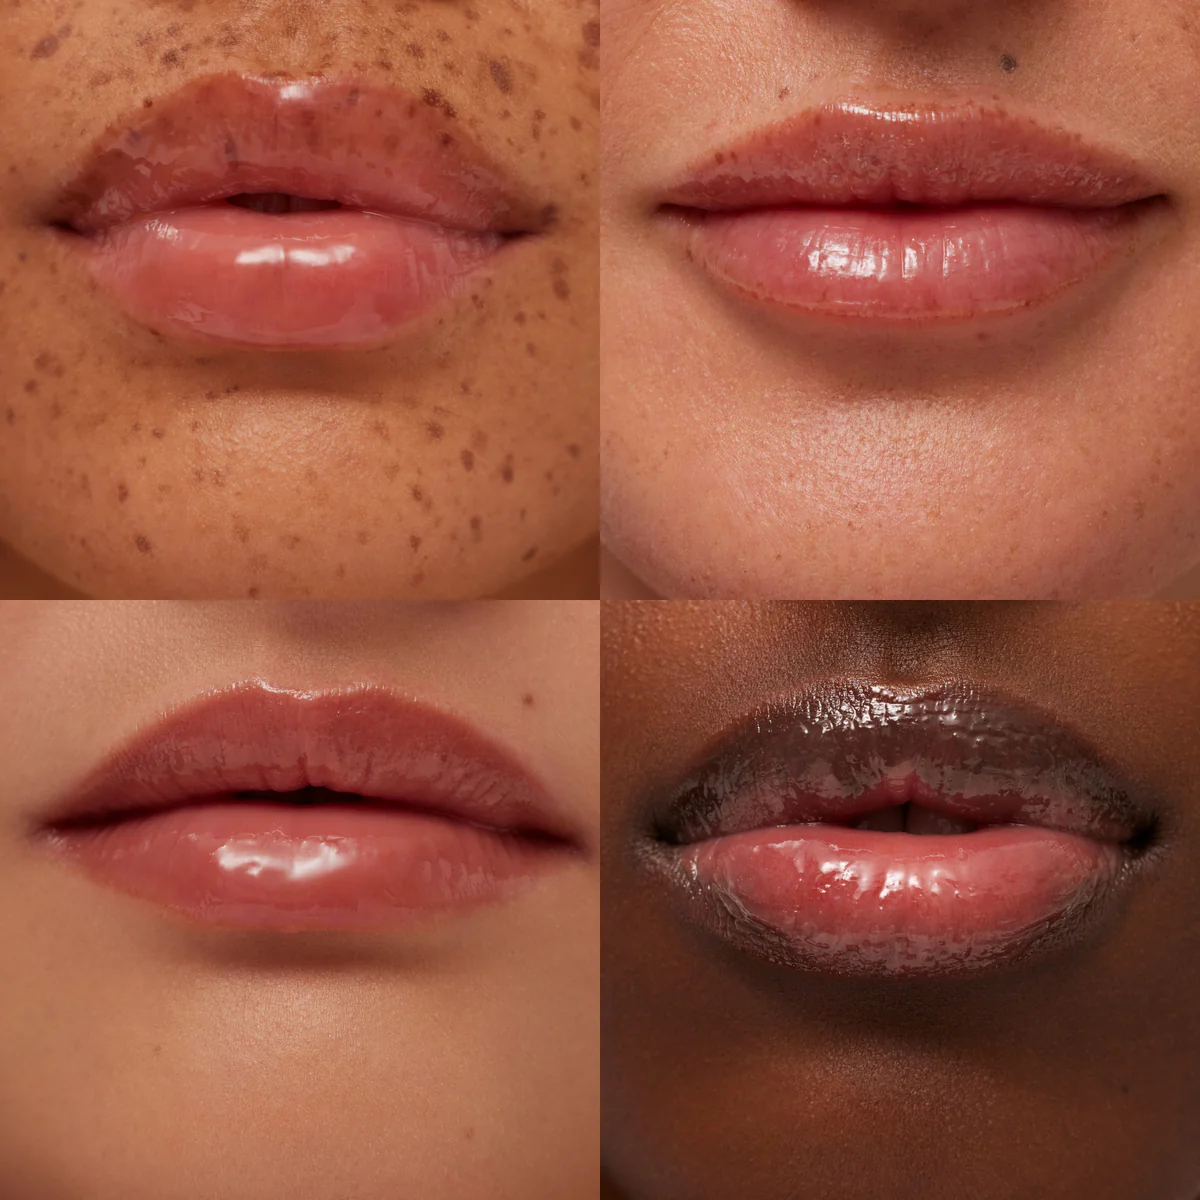
Summer Fridays Makes Iced Coffee Lip Balm a Permanent Treat
Calling all lip balm lovers with a sweet tooth! Summer Fridays’ cult-favorite Iced Coffee Lip Balm is here to stay! This decadent balm originally launched last fall and disappeared from shelves in a flash. Thankfully, due to its popularity and praise for its long-lasting moisture and delicious butterscotch flavor, Summer Fridays has added it permanently…
Step-by-Step: Creating Your DIY Cream Blush
- Select Your Shades
Choose a powder blush that matches your desired look. For a natural flush, go for peach or soft pink. For a bolder statement, try deeper berry or coral tones. - Scrape and Prep
Using a clean tool, scrape a small amount of powder blush onto your mixing palette. Start with a pea-sized amount—you can always add more later. - Add Lip Balm
Scoop a small amount of lip balm (about the same size as the blush powder) onto the palette. Opt for balms without shimmer for a more natural finish. - Mix Thoroughly
To ensure your DIY cream blush is smooth and not grainy, follow these steps: - Choose Your Ingredients Wisely
Graininess can often be attributed to the type of oil used. Coconut oil, for instance, is known to sometimes develop a grainy texture. Consider experimenting with different oils if this becomes an issue. - Reheat if Necessary
If you notice any graininess, gently reheating the mixture can help smooth it out. This is especially effective if the graininess is due to solidified coconut oil. - Check Your Additives
Sometimes, additives like mica can contribute to a grainy texture, though this isn’t always the case. Ensure your mica or any other powder is finely milled to avoid this problem. - Mix Thoroughly
Combine the powder blush and lip balm using your mixing tool. Blend until the texture is smooth and creamy with no visible chunks of powder. - By considering these steps, you can troubleshoot and perfect your cream blush, ensuring a silky, even consistency every time.
- Test and Adjust
Swatch the cream blush on the back of your hand to test the color and texture. If it’s too light, add more powder blush. If it feels too dry, mix in more lip balm. - Apply to Skin
Use clean fingers, a makeup sponge, or a brush to dab the blush onto your cheeks. Blend in circular motions for a natural finish.
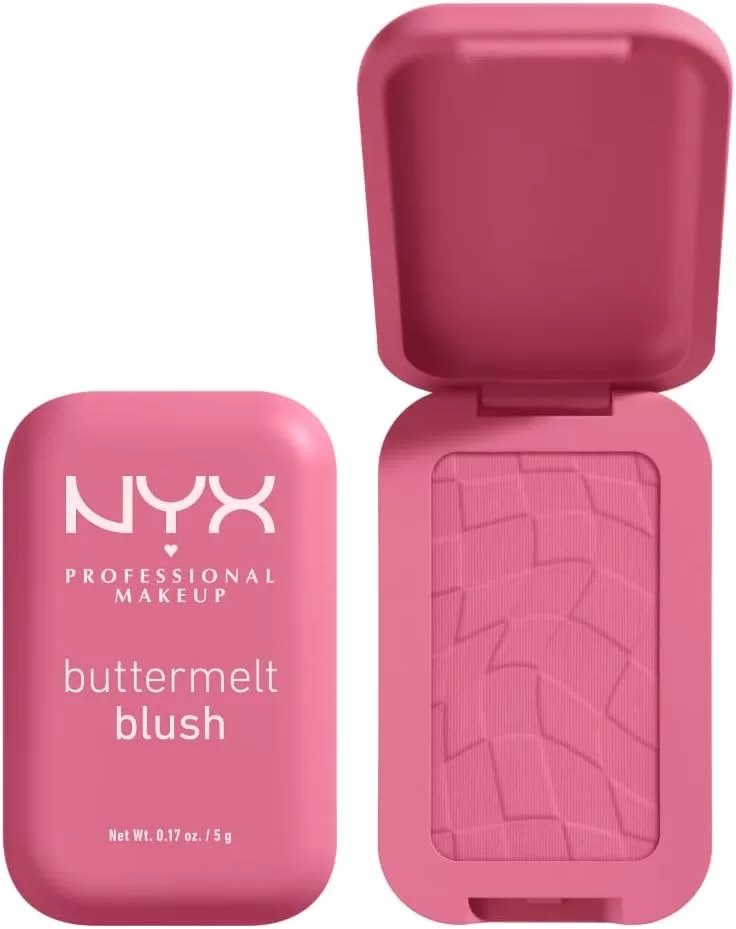
NYX Professional Makeup Buttermelt Powder Blush, Up To 12H Wear, Seamless Blending, Fade and Transfer Resistant, With Shea and Mango Butter, Vegan Formula,..
Pro Tips for Perfect Results
- Achieving a flawless cream blush look requires more than just swiping color onto your cheeks. Here are some expert tips to elevate your blush game:
- Blend, Blend, Blend: Just like Jennifer recommends, use your fingertips to apply the cream blush, blending it thoroughly into your skin for a seamless finish. The warmth of your fingers helps the product meld into your skin, creating a natural flush.
- Add Highlighter: Mix a drop of liquid highlighter into the blend for extra radiance. This step enhances your complexion, giving you a luminous glow that stands out.
- Layer for Intensity: Start with a sheer layer and build up the color for more drama. This technique allows you to customize the intensity, whether you’re going for a subtle daytime look or a bold evening statement.
- Set with Powder: Dust a translucent powder over the cream blush to increase longevity. This helps to lock in the color, ensuring it stays vibrant throughout the day.
- Store in a Compact: If you make a larger batch, store it in an empty makeup compact for easy reuse. This not only saves time but also keeps your favorite shade ready for quick touch-ups.
- By incorporating these techniques, you’ll master the art of applying cream blush, achieving a look that’s both polished and effortlessly stunning.
Adjusting the Hardness of DIY Cream Blush
Creating the perfect DIY cream blush can sometimes require fine-tuning its texture. Here’s how you can adjust the hardness to suit your preference:
When the Blush is Too Hard:
- Add Oil: Gradually incorporate a little more carrier oil, like jojoba or coconut oil. This will soften the texture and make it easier to apply.
- Warm it Up: Slightly heat the mixture over a double boiler or in a microwave for a few seconds. This helps the ingredients blend better, potentially improving the consistency.
When the Blush is Too Soft:
- Increase Waxy Content: Mix in a bit more natural wax, such as beeswax or candelilla wax. This will firm up the blush.
- Cool it Down: Place the blush in the fridge for a brief period. The cooler temperature will help it set and solidify faster.
By following these adjustments, you’ll achieve the ideal balance for a smooth and easy-to-apply cream blush. Experiment with small amounts to find the perfect consistency for your skin needs.
Key Considerations for Storing DIY Cream Blush and Lip Stain
Creating your own cream blush and lip stain can be a fun and rewarding experience. However, to keep them fresh and safe to use, proper storage is crucial. Here are some factors to keep in mind:
1. Shelf Life
- Duration: Typically, the shelf life of DIY cream blush and lip stain is around 4 to 6 months. Beyond this period, the product may separate or become less effective.
2. Ingredients’ Integrity
- Natural Ingredients: Many homemade beauty products utilize natural ingredients, which can degrade faster than synthetic ones. Always ensure your ingredients are fresh before use to maximize longevity.
- Preservatives: Consider using natural preservatives like vitamin E or grapefruit seed extract to extend the shelf life.
3. Storage Conditions
- Cool and Dark: Store your products in a cool, dark place to prevent heat and light from degrading the ingredients.
- Airtight Containers: Use airtight containers to minimize exposure to air and bacteria. Small glass jars or aluminum tins are excellent options.
4. Regular Checks
- Appearance and Smell: Regularly check for changes in color, consistency, or smell. Discard immediately if any signs of spoilage or mold appear.
- Patch Test: Before applying, perform a patch test to ensure the product hasn’t developed any irritants.
5. Hygiene Practices
- Clean Hands and Tools: Always use clean hands or tools when applying the product to prevent contamination.
- Small Batches: Consider making smaller batches to use them up within their safe lifespan.
By considering these factors, you can ensure your DIY cream blush and lip stain remain fresh and effective for as long as possible. Enjoy your creations with peace of mind!
Absolutely! Transforming a DIY cream blush recipe into lip balm tubes is a straightforward process. Here’s a step-by-step guide:
1. Gather Your Supplies
First, ensure you have all necessary materials on hand:
- Lip balm tubes: Each holds approximately 0.25 ounces.
- Droppers or pipettes: To reduce mess during pouring.
- Mixing bowls and utensils: For blending ingredients.
2. Modify the Recipe
Begin by tweaking the cream blush recipe:
- Consistency: Cream blush is often thicker, so you may need to add a bit more of a softer oil (like coconut or jojoba) to make it smoother and easier to pour.
- Ingredients: Opt for food-grade oils and natural color pigments. If using essential oils, ensure they are lip-safe.
3. Melt and Mix
- Heat ingredients: Use a double boiler to gently melt your solid ingredients like beeswax or cocoa butter.
- Combine well: Blend all components thoroughly for an even texture.
4. Pour with Care
- Use pipettes or droppers: To carefully fill each tube, minimizing spills and ensuring cleanliness.
- Patience is key: Proceed slowly to avoid overflow and mess.
5. Allow to Set
- Cooling process: Let the filled tubes sit undisturbed. You can place them in the fridge for faster setting.
6. Finish and Test
- Cap and label: Once solid, seal each tube and label with the color or ingredients for easy identification.
This approach not only minimizes cleanup but also ensures you have multiple tubes of beautifully crafted, on-the-go blush that doubles as a hydrating lip tint. Enjoy the versatility and convenience of your homemade lip balm!
How to Use Mica Powder for DIY Cream Blush
Creating your own cream blush with mica powder is a fun and simple way to achieve a youthful glow. Mica, a natural mineral, adds a radiant shimmer to your makeup, and it’s gentle enough for everyday use on your skin. Here’s a step-by-step guide to making your own cream blush:
Step-by-Step Instructions
- Gather Your Ingredients:
- 1/2 teaspoon of pink or red mica powder (adjust for your desired intensity of color).
- A base of unscented lotion or natural oil like coconut or jojoba—these will act as the moisturizer in your blush.
- Prepare Your Base:
- If using a lotion, ensure it’s thick enough to hold the mica powder. If you prefer using an oil, be cautious of how much you use to avoid an overly greasy finish. The cream blush naturally hydrates, reducing the need for excess moisturizer.
- Mix the Mica:
- Gradually incorporate the mica powder into the base, stirring until well-blended. It’s crucial to start with a small amount and add more if a deeper color is desired.
- Testing the Shade:
- Once mixed, test the blush on the back of your hand or your wrist to check the color and shimmer. This step helps you determine if more mica is needed.
- Application Tips:
- Apply the cream blush directly to your cheeks using your fingertips or a makeup sponge. For best results, apply to dry skin, especially in a drier climate, as this helps the color last longer without getting greasy.
Final Thoughts
Using mica powder in cream blush not only creates a custom look but also benefits your skin with its natural properties. Adjust your recipe to suit your skin type and climate, and enjoy the bespoke touch of a homemade cosmetic!
Potential Issues with Using Mica Powder in Cosmetics and How to Address Them
Mica powder is a popular ingredient in cosmetics due to its shimmery effect. However, there are several potential issues associated with its use:
- Contaminants in Mica:
- Mica is a natural mineral, often found alongside other minerals that may contain harmful elements, such as chromium oxide green. Some of these elements have potential health risks, including associations with cancer.
- Synthetic Dyes:
- The natural color of mica is often enhanced with synthetic dyes, like FD&C dyes, which can vary in safety. Some dyes might be safe for certain applications, such as eye makeup, but not for others, like lip products.
- Regulation and Quality Control:
- Not all online platforms rigorously scrutinize the vendors selling mica powder, leading to potential concerns about the origin and quality of the ingredients.
By conducting due diligence when purchasing mica powder—verifying ingredient lists, sourcing details, and safety certifications—you can mitigate potential risks and ensure safer use in your cosmetic products.
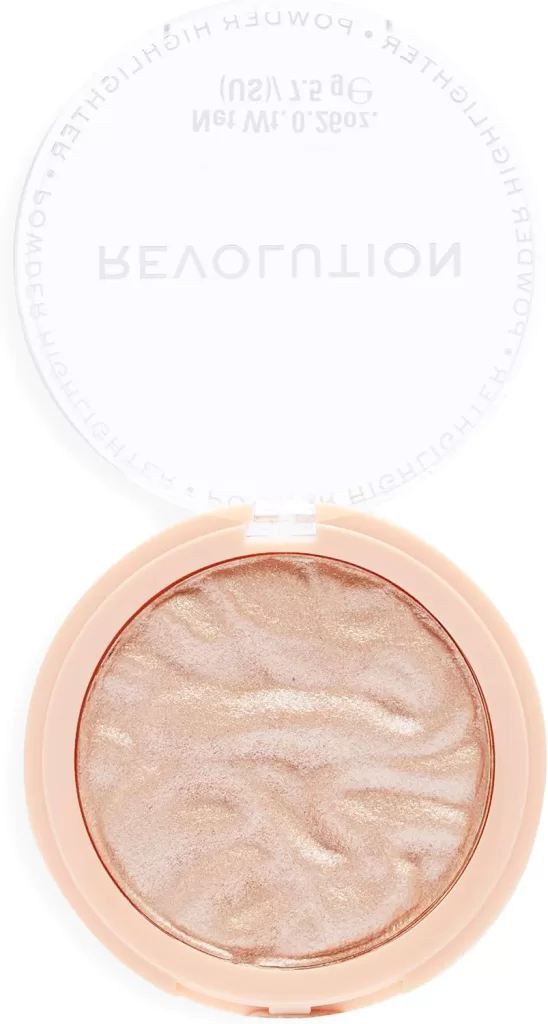
Makeup Revolution Highlight Reloaded, Highly Pigmented, Shimmer Glow Finish Face Makeup, Just My Type, 10g
When to Use Your DIY Cream Blush
- Daily Wear: For a fresh, no-makeup makeup look, apply a light layer of blush on the cheeks and lips.
- Evening Glam: Add a touch of shimmer or pair it with a bold eye look for nighttime events.
- Travel-Friendly: Use your homemade cream blush as a 2-in-1 product to save space in your makeup bag.
Benefits of DIY Cream Blush
- Cost-Effective: Save money by creating a product using items you already own.
- Eco-Friendly: Reduce waste by repurposing your makeup.
- Personalized Formulas: Tailor the texture, shade, and finish to your unique preferences.
FAQs: DIY Cream Blush with Lip Balm
1. Can I use a tinted lip balm for this recipe?
Yes! Tinted lip balms can enhance the color and reduce the amount of powder blush needed.
2. Will the blush last as long as store-bought options?
While it may not last as long as professional formulas, setting it with powder can improve longevity.
3. Can I use this on sensitive skin?
Absolutely! Just ensure the lip balm and blush you use are formulated for sensitive skin.
4. How do I clean my mixing tools and palette?
Wash them with soap and warm water after each use to maintain hygiene.
5. Can I make a shimmer blush?
Yes, mix in a shimmery powder blush or add a small amount of loose highlighter to your blend.
The shelf life of DIY cream blush and lip stain typically ranges from four to six months. This duration can vary depending on the specific ingredients used. Natural ingredients, while gentle on the skin, may not last as long as their commercial counterparts which often contain preservatives.
To maximize the longevity of your homemade products, ensure they are stored in a cool, dry place and kept in airtight containers. Regularly check for any changes in smell, color, or texture, as these can be indicators that it’s time to create a fresh batch.
Exploring Natural Dyes for DIY Cosmetics
If you’re diving into DIY cosmetics and want to explore natural dyes, there are several fascinating options worth considering. Natural fruits, vegetables, and spices serve as excellent sources for vibrant hues.
- Beetroot: Known for its rich color, beetroot powder or juice can add a beautiful shade to lip products, although it may not provide long-lasting results.
- Turmeric: This spice is renowned for its bright yellow color, ideal for creating golden tones in creams and balms.
- Hibiscus Powder: Offers a lovely pinkish tint, perfect for blushes and lip tints.
- Spirulina: A blue-green algae that can be used to achieve soft green tones.
When incorporating these natural dyes, consider whether the ingredients are oil-soluble or water-soluble. This distinction is important to ensure they blend smoothly without a gritty texture. If your formulation involves any water content, don’t forget to use an emulsifier and preservative to maintain the product’s stability and longevity.
Experiment and embrace the creativity that comes with using these natural elements in your DIY cosmetic creations!
When looking for alternatives to mica powder in DIY cosmetics, several natural options can provide vibrant colors and beneficial properties. Here’s a breakdown of potential ingredients to consider:
1. Freeze-Dried Fruits and Vegetables
- Usage: These can be ground into fine powders and mixed into your cosmetic formulations.
- Examples: Beets, strawberries, raspberries, and spinach can offer a range of hues from reds to greens.
- Considerations: Ensure they’re finely ground to avoid graininess. You might need an emulsifier if any moisture is present to blend them smoothly.
2. Spices
- Usage: Many spices offer rich pigments and can be easily found in most kitchens.
- Examples: Turmeric for a golden hue, cocoa powder for browns, and saffron for a yellow tint.
- Considerations: These ingredients can sometimes be staining, so it’s essential to test them in small batches.
3. Herbal Powders
- Usage: Herbs like spirulina or matcha green tea can provide unique colors and added skin benefits.
- Examples: Used primarily for green shades and antioxidant properties.
4. Charcoal
- Usage: Known for its deep black color, activated charcoal is great for eyeliner or mascara formulations.
- Considerations: It also offers detoxifying benefits, but remember to use it in small amounts to avoid overpowering the product.
5. Tea and Coffee Extracts
- Usage: These can be used for natural browns and reddish tones.
- Considerations: They offer additional benefits like caffeine’s skin-tightening properties but require a preservative if water-based.
Tips for Implementation
- Oil vs. Water Soluble: Determine if your chosen ingredients are oil or water-soluble to decide on the correct base. Oil-based products need oil-soluble colors, and vice versa.
- Preservatives: Any incorporation of water-based extracts or ingredients necessitates a natural preservative to ensure product longevity and safety.
By experimenting with these natural alternatives, you can create beautifully colored cosmetics without relying on mica powder. Adjust your formulas based on compatibility and your desired color intensity.
How to Use Dehydrated Fruits and Vegetables for Homemade Cosmetic Colorants
Dehydrating fruits and vegetables is an innovative way to create natural colorants for your homemade cosmetics. Here’s how you can do it:
- Choose Your Produce: Start with colorful fruits and vegetables like beets, berries, and spinach. These vibrant options will yield rich pigments when dehydrated.
- Dehydrate: Use a dehydrator to slowly remove moisture from your chosen produce. The dry heat preserves the natural colors, making them ideal for cosmetic use. Don’t have a dehydrator? An oven set at a low temperature can also do the trick.
- Grind into Powder: Once completely dehydrated, grind the produce into a fine powder using a high-quality spice grinder or mortar and pestle. Ensure there are no large particles, as these could affect the texture of your cosmetics.
- Mix into Cosmetics: Blend these powders into your DIY cosmetic formulations. For instance, beetroot powder can add a rosy hue to lip balms or blush, while spinach powder may be perfect for creating a natural green eyeshadow.
- Test and Adjust: Swatch the cream blush on the back of your hand to test the color and texture. If it’s too light, add more powder blush. If it feels too dry, mix in more lip balm.
- If your blush still lacks enough color, consider incorporating more mica. This mineral-based pigment can enhance the vibrancy and give your blush a richer hue. Start with a small amount, mix thoroughly, and test again to achieve the perfect shade.
- By balancing the ingredients, you can customize your DIY cream blush to match your skin tone and desired intensity, ensuring a flawless finish every time.
By following these steps, you can create bespoke, eco-friendly cosmetics that are as nourishing as they are beautiful.
Can Mica Powder Be Used Safely on the Skin for DIY Cosmetics?
Absolutely, mica powder is a popular ingredient in DIY cosmetics, thanks to its shimmering, iridescent quality. Composed of naturally occurring minerals, mica is finely ground to produce a sparkling powder. But is it safe for your skin? Let’s explore.
Safety and Skin Benefits
- Non-Toxic and Skin-Friendly: Mica is non-toxic and regarded as safe by various health organizations for use in cosmetics. It doesn’t penetrate the skin, making it a preferable choice for many beauty products.
- Common Uses: You’ll find mica in products like eyeshadows, highlighters, and lip glosses. Its reflective properties help to create that desirable glow.
- Regulation and Testing: Brands often ensure their mica sources meet stringent safety standards. For your DIY projects, consider sourcing from reputable companies that provide lab-tested, cosmetic-grade mica.
Precautions
- Avoid Inhalation: While mica is safe for external use, it is important to handle the powder carefully, avoiding inhalation during application.
- Sensitive Skin: Consider doing a patch test if you have sensitive skin, as individual reactions can vary.
By following these guidelines, you can safely incorporate mica into your DIY beauty routine, achieving that sought-after shimmer with peace of mind.
Conclusion: Your Perfect Blush Awaits
Creating your own cream blush by blending lip balm with powder blush is a simple, fun, and effective way to enhance your beauty routine. Whether you’re looking for a natural daytime glow or a bold evening look, this customizable DIY solution has you covered. Give it a try, and unlock your creativity while enjoying the benefits of a personalized makeup product!

Hyaluronic Acid Serum for Skin
Explore more articles like this @ Where And How Resources
If you found this article helpful, don’t forget to share it with your friends and followers!
